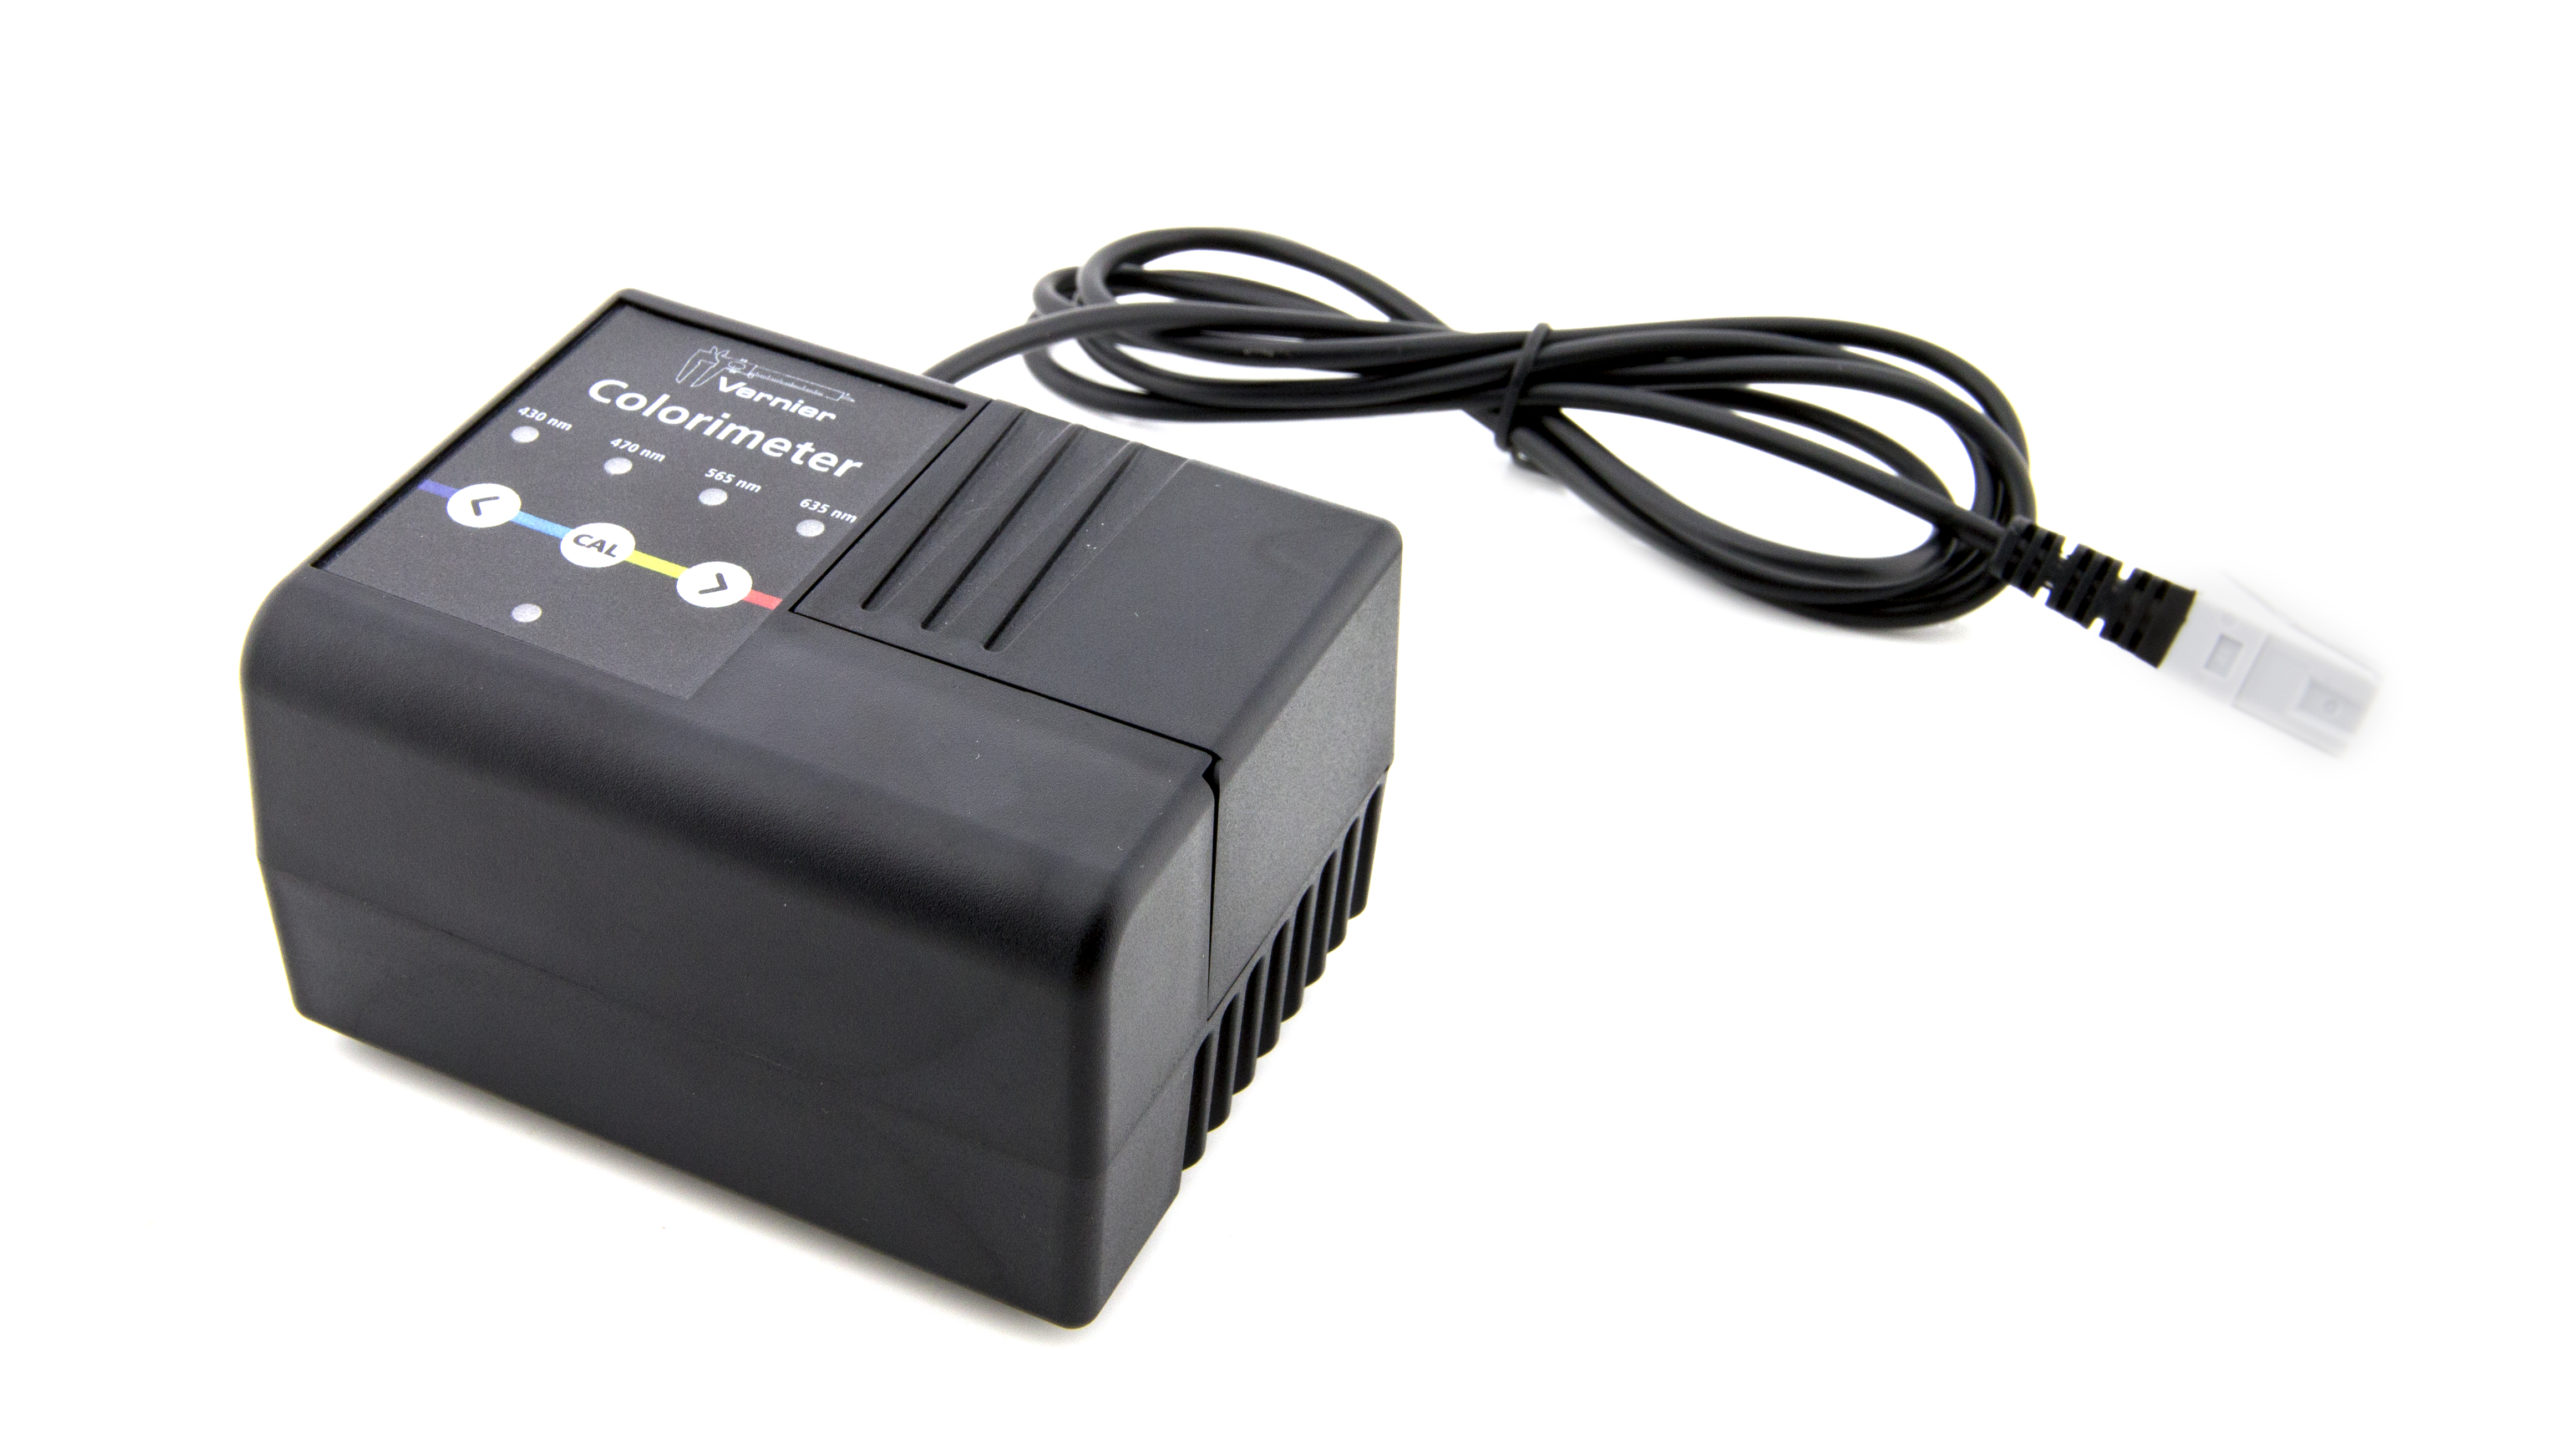
Troubleshooting
- Primary Test: Connect the Colorimeter to a Vernier Interface. Allow the Colorimeter to warm up for 5 minutes. Place a cuvette, about 3/4 full of distilled water, in the Colorimeter and close the lid. Select a wavelength. Press and hold the CAL button on the Colorimeter. When the red LED begins to flash, release the CAL button. When the red LED stops flashing, the Colorimeter is calibrated. Check the absorbance readings, which should be very nearly zero.
- Secondary test: Prepare a solution with a color (a simple test solution for the 635 nm wavelength setting can be made by adding 2 drops of green food coloring to 100 mL of tap water). After calibrating the Colorimeter, fill a cuvette about 3/4 full with the test solution. Place the cuvette in the Colorimeter and close the lid. The absorbance readings should change to a reading between 0.8 – 1.5. You may dilute the test solution and place a cuvette of the dilute solution in the Colorimeter to check the change in absorbance.
The normal, most useful absorbance range is 0.05 – 1.0, or 10% – 90% transmittance.
Usage Tips
- When you press the CAL button, make sure the red LED lights flash several times. You may still have to wait a few seconds after the red LED stops flashing before the absorbance reading is ~0.000 or the % transmittance is ~100.0%.
- If you calibrated with a cuvette of water and then remove this cuvette of water, it is expected that the absorbance value will no longer be 0.000 or the % transmittance may be much lower than 100.0% (even as low as 70%). If you put the cuvette of water back in the Colorimeter, the absorbance will return to ~0.000 or the % transmittance will return to ~100.0%.
- If you switch to a new wavelength, you need to calibrate the Colorimeter again.
- If your solution is very dark and you are getting absorbance readings greater than 2.00, then dilute your solution. Solutions should typically be fairly translucent to get accurate readings with the Colorimeter.
Additional Troubleshooting
GENERAL
- My Colorimeter is not working properly. What should I do?
- How does a colorimeter compare to a spectrometer?
- Do you sell replacement lids for your plastic cuvettes?
- Why don't the absorbance readings for the colorimeters and spectrometers have units?
- What model Colorimeter do I have?
CALIBRATION
- How do I calibrate my older Colorimeter?
- How do I calibrate a COL-DIN Colorimeter using the LabQuest App?
OPERATION
- My Colorimeter is not working properly. What should I do?
- Can my Colorimeter report in percent Transmittance using the LabQuest App?
- Why don't all of my spectrometers and/or colorimeters read the same absorbance value for the same sample?
- My Colorimeter won't calibrate properly when used with a Go! Link or EasyLink.
- What types of liquids can be poured into your plastic colorimeter or spectrophotometer cuvettes without harming the cuvette?
EXPERIMENTS
- Do you have any experiments written for the LabQuest and the older model Colorimeter?
- How do I run the AP Chemistry food dye lab with a colorimeter instead of a spectrophotometer?
- Is it possible to measure turbidity with the colorimeter?
MAINTENANCE & STORAGE
- Liquid has spilled inside my Colorimeter. What should I do?
- How do I replace the plastic insert that holds the cuvettes in my older style, rounded Colorimeter?
Specifications
- Range: 0 to 3 (absorbance)
- Useful Range 0.05 to 1.0 (absorbance) and 90% to 10% transmittance (%T)
- Wavelengths: 430 nm, 470 nm, 565 nm, 635 nm
- Supply voltage: 5VDC ±25 mV
- Supply current (typical): 40 mA
- Power up time: 700 ms (maximum)
- Output voltage range: 0 – 4 V
- Transfer function: Vout = 0.035 x (%T) + 0
- Stored calibration values: Slope = 28.571; Intercept = 0
Calibration
Calibration? Yes, each time before use. For more information, see How do I calibrate my sensor?
- Connect the Colorimeter to an interface and launch the data collection app, or connect the Colorimeter to a LabQuest run the LabQuest App.
- Allow the Colorimeter to warm up for 5 minutes.
- Select a wavelength.
- Open the lid, insert a cuvette filled about 3/4 full of distilled water, and close the lid. Make sure that one clear side of the cuvette is lined up with the arrow at the top of the cuvette slot.
- Press the CAL button and hold it until the red LED begins to flash and then release the CAL button. When the LED stops flashing, the calibration is complete.
Related Products
- Plastic Cuvettes (Visible Range) (
CUV ) (pkg. of 100) - Cuvette Rack (
CUV-RACK ) - Go Direct® Colorimeter (
GDX-COL )

