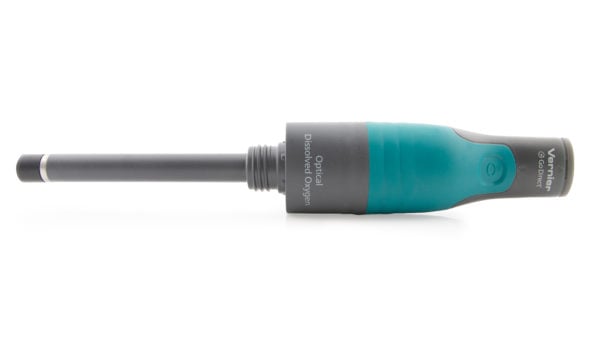
- Place the new Go Direct® Optical Dissolved Oxygen Replacement Cap (GDX-ODO-CAP) on the Go Direct Optical Dissolved Oxygen Probe. Note the four digit code on the side of the cap.
- Put the probe in a beaker of distilled water for at least one hour.
- Put distilled water in the ODO storage bottle so that it covers the sponge at the bottom. (You do not want to put too much in—the tip of the probe should not be touching the water.)
- Put the probe back in the storage bottle and let sit upright for at least 30 minutes. (Make sure there isn’t too much water. You do not want the tip to be touching the water.)
- After 30 min, connect the probe to Graphical Analysis app (v. 4.8 or newer).
- Click or tap the sensor meter (lower right corner of the app screen) to access the sensor options.
- Click or tap Device Information,
 , then select Advanced.
- Select the value that corresponds the the last digit of the ODO cap code, then click or tap Save.
- Close the Device Information box.
- Now calibrate the sensor.
- Click or tap the sensor meter (lower right corner of the app screen), and select Calibrate.
- Follow the on-screen instructions to calibrate the probe.
Related Links
Published: July 2, 2019. Updated: March 27, 2025.