Logger Pro will no longer receive updates. Logger Pro v3.16.2 was the final release.
For more information, see Logger Pro will no longer receive updates.
To install Logger Pro with the silent installer via Group Policy, you need to have your computers set up with a Windows Domain and a Domain Controller. While it is not required, you should also have the computers assigned to groups in Group Policy, (Students, Teachers, Servers, etc.) so that you don’t install Logger Pro onto the wrong machines. For example, this software is typically used on the computers in a science lab and science faculty personal computers.
You will need the Logger Pro install file from your Vernier.com account:
- How do I access Logger Pro 3 installers and passwords from my account on the Vernier website?
- How do I distribute Logger Pro to my IT Department?
Note that IT departments are welcome to create their own accounts, even if the original purchase was done by someone other than the IT department.
Screenshots below are from Windows Server 2012, instructions are very similar on other versions, but may look slightly different.
- Download and unzip the silent installer (LoggerPro3_XX_SilentInstaller.zip)
- Put the .msi file in a network location accessible by the target computers. Note that the silent installer zip file includes a batch file and several other files for other deployment methods. For Group Policy, you only need the .msi file.
- On the Domain Controller, go into Group Policy Management, (Control Panel, Administrative Tools, Group Policy Management)
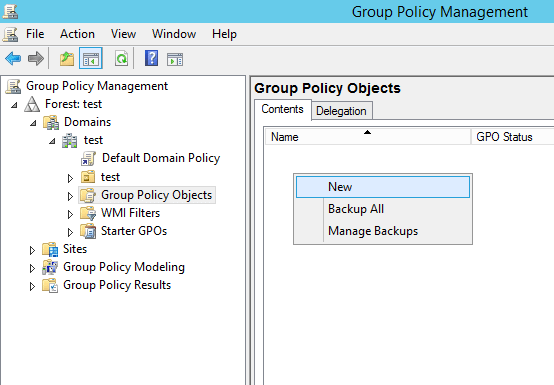
- Select Group Policy Objects on the left pane
- Right click on the right pane and choose “New”
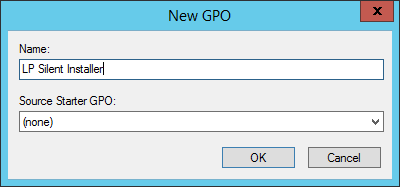
- Name the policy.
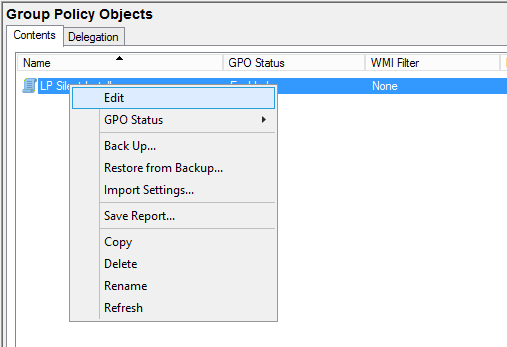
- Right click on the policy and choose “Edit”
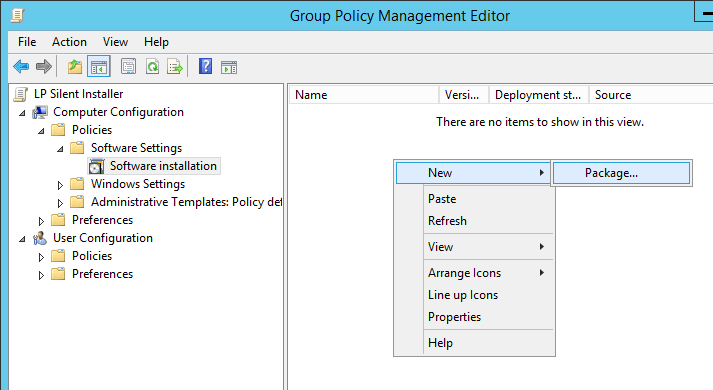
- On the left pane expand Polices, Software Settings, and choose Software installation
- Right click on the right pane and choose “New, Package…”
- It will give you a choose file dialog. Choose the UNC path to wherever you placed the .msi file.
Note: If the .msi file is shared off the Domain Controller, you have to choose the complete network share path as it will appear to the client machines. Do not use the local path as it appears on Domain Controller. For example, in the screenshots shown below, the full path used was: \\server\Installers\Logger Pro 3.msi
– – –
The following path would fail since the .msi is not on the target computer’s C drive.
C:\Shared Files\Installers\Logger Pro 3.msi
- You will then be prompted for your deployment method. Normally you want to choose “Assigned” because “Published” makes it so that users can add it to their computer via “Add/Remove Programs”.
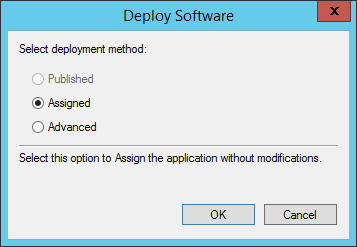
- Select OK in the Deploy Software dialog. The installer may take a minute or two to show up in this dialog, depending on your network speed.
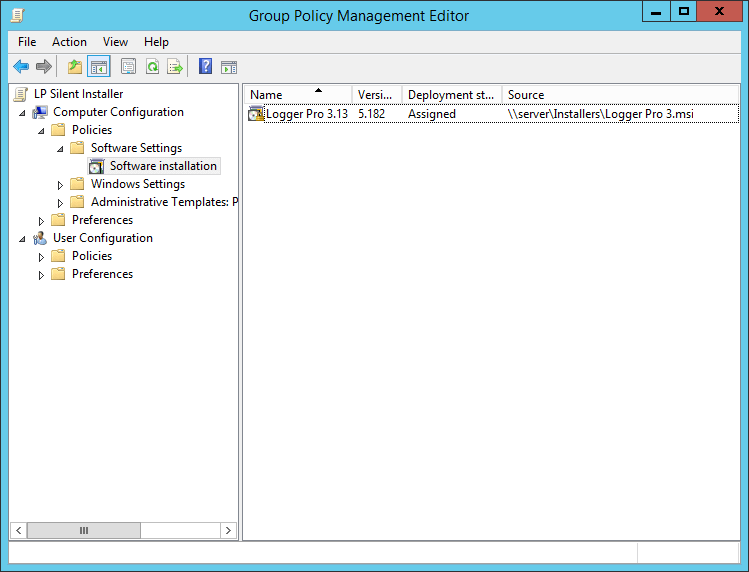
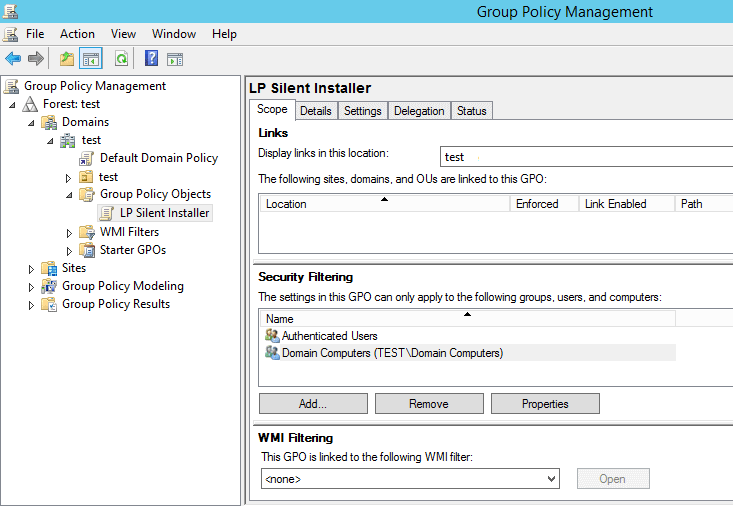
- Expand the Group Policy Object on the left pane and choose the Policy you just created.
- On the right pane, add a Security Filter. The default filter of “Authenticated Users” doesn’t include machines, so you need to select a group of target machines. In this example we choose Domain Computers, but you may want a narrower filter so you don’t accidentally deploy software to the wrong places.
- On the left pane, choose a computer group (“students”, “teachers”, “2nd floor lab”, etc,) and right click and choose “Link an Existing GRO…”
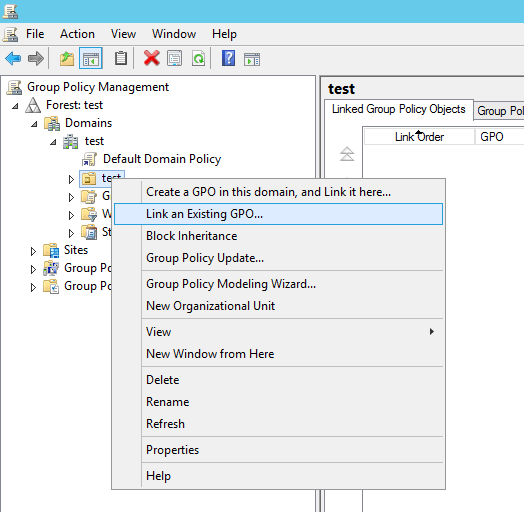
- Choose the Group Policy you just created.
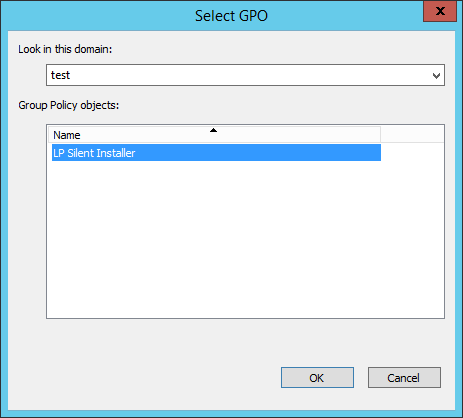
- Once you choose OK, Logger Pro will install the next time the target computers reboot.
See also:
● Issues with the silent installer with Logger Pro on Windows 7
