This information pertains to LabQuest 2.
If you have an original LabQuest, see this article.
If you have a LabQuest 3, see this article.
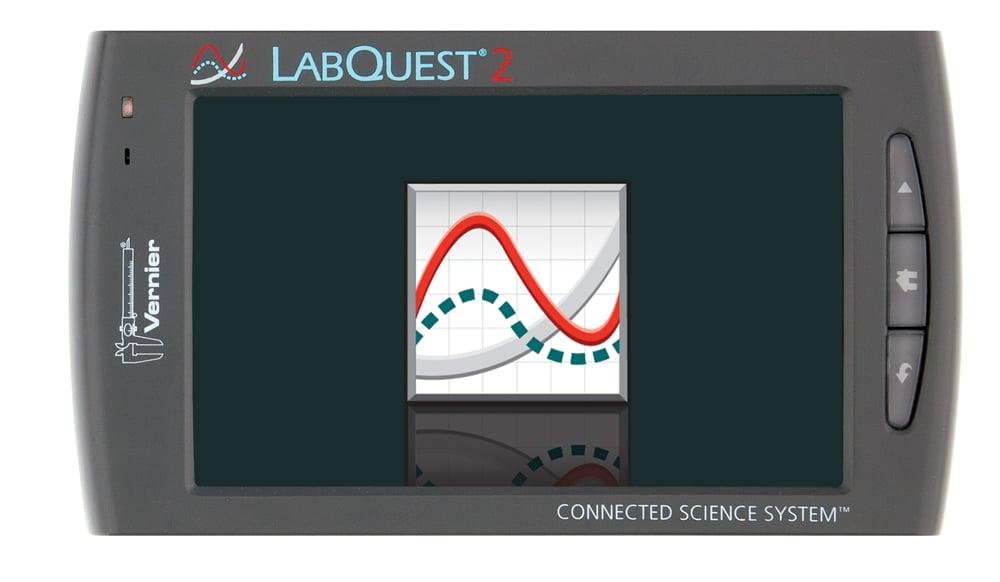
LabQuest 2 takes about 90 seconds to boot. If LabQuest 2 gets stuck on the logo screen or only boots up as far as the blue screen, the first thing to check is the power button: Why does my LabQuest 2 get stuck while booting and not make it past the logo screen?


If the power button is not the problem, the recovery process depends on the version of LabQuest App on your device. Note: This solution only works if LabQuest is getting to the logo screen or further. If LabQuest 2 is flashing or black, see I have trouble getting my LabQuest 2 to turn on/start up. (flowchart)
- If you have LabQuest App v. 2.3.3 or older (i.e., 2.0 to 2.3.3) contact Vernier Technical Support for further assistance.
- If you have LabQuest App v. 2.4 or newer, follow the Recovery Instructions below.
How do I know what version of LabQuest App I have?
Unfortunately, the only way to know for sure is to check within LabQuest App itself. The following information can help you get a best estimate of the app version:
- Check the serial number on the back of the unit. All units with serial numbers greater than 14034000 shipped with LabQuest App version 2.4 or newer.
- If you updated the app after October 23, 2014, you were running version 2.4 or newer.
- If you were in the middle of an update when this problem occurred, the Recovery Instructions may work.
- If you have multiple units that you updated at the same time, look at the software version number of a working unit. To find the version number on a working unit, tap the Home icon, tap System, and then tap System Information.
Recovery Instructions
1) Download the LabQuest boot recovery file (LQ2_v1.0_Boot_Recovery.lqb) to the root directory of a USB flash drive.
2) Press and hold the power button on LabQuest 2 to turn off the unit completely. Depending on the state of the LabQuest unit, it may be necessary to remove all power, including the battery, to make this happen.
3) Insert the USB drive into the USB port on LabQuest.
4) Press and hold the “Collect” button (the hard key with the triangle).
5) Continue to hold the Collect button while you press the power button to turn on the unit. (If you had to remove the battery, connect the AC adapter to turn on the unit.)
6) Keep holding down the Collect button until the LabQuest screen shows that the updater is running.
Note: Once started, it will take a little more than 2 minutes to extract the files and begin the actual device update. When complete, the LabQuest unit will reboot and resume normal operation.
7) Once operational, you need to run a software update for the LabQuest unit to ensure the device continues to operate normally. For more information, see https://www.vernier.com/support/updates/labquest/labq2/
If the Recovery Instructions do not solve the problem, contact Vernier Technical Support for further assistance.
Note: If the LabQuest 2 reboots before it displays the logo screen, this may be a battery/power related issue. See:
Why does LabQuest 2 screen flash white, and then black, when I turn it on?
See also:
I have trouble getting my LabQuest 2 to turn on/start up. (flowchart)
