This information pertains to the original LabQuest.
If you have LabQuest 2, see this article.
If you have LabQuest 3, see this article.

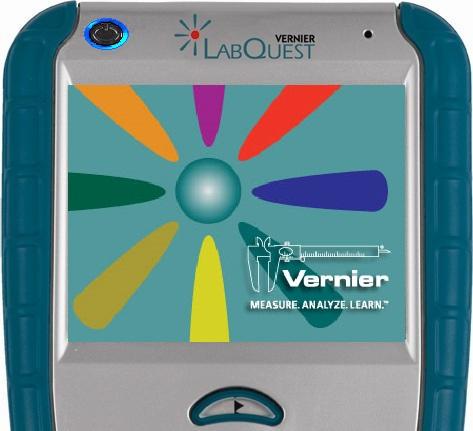
This is typically caused by a corrupt file system on the LabQuest. Occasionally, a device that has been in storage will get stuck on the LabQuest logo screen during startup.
Recovery Instructions
- First, try resetting the LabQuest as this may recover the unit.
How do I reboot or reset an original LabQuest? - If a reset does not resolve the issue, follow the detailed instructions from the link below to prepare a USB drive to continue. Note: It can be helpful if your USB drive has an LED that flashes while it is in use. This helps to show that something is happening during an update.
What is the ideal way to prepare a USB thumb drive for updating original LabQuest? - Force the unit boot from the USB drive using the Collect-Button Method described below:
- With the USB drive in LabQuest, hold down the crescent-shaped Collect button located below the screen.
- While continuing to hold down the Collect button, flip the LabQuest over and locate the reset button. The reset button is a little gray button located just below the stylus bay.
- While looking at the LabQuest screen (and still holding the Collect button), use the stylus to press and release the reset button. Here is what to look for
- The blue power-button LED will come on, go off, and come back on a second time
- The screen will power on showing the boot logo, and then display the text “booting…”
- Release the Collect button when you see the text on the screen and wait for the system to boot, which can take several minutes.
The LED on the USB drive should be flashing rapidly (sometimes so fast it appears to be on solid), indicating that the LabQuest is communicating with it.
After some time the flashing will become less frequent, the unit will reboot, and the boot process will complete.
- Update your LabQuest. If using the Collect-Button Method restores the unit, wait for the LabQuest app to load and apply an update normally, following the steps at: https://www.vernier.com/labquest/updates/
The Collect-Button Method only updates the unit enough so that it can boot. If the software is corrupt, failing to update the unit normally can get the LabQuest stuck in this same place the next time you try to use it. You can use the same USB flash drive to perform the update as you did to perform the Collect-Button Method reset. Note: You will likely see a message stating the update has already been applied. Choose to apply the update anyway.
If your LabQuest still is not working with these steps, we can usually repair the unit. Please contact Vernier Technical Support at 888.837.6437 to set up a Return Merchandise Authorization (RMA).
