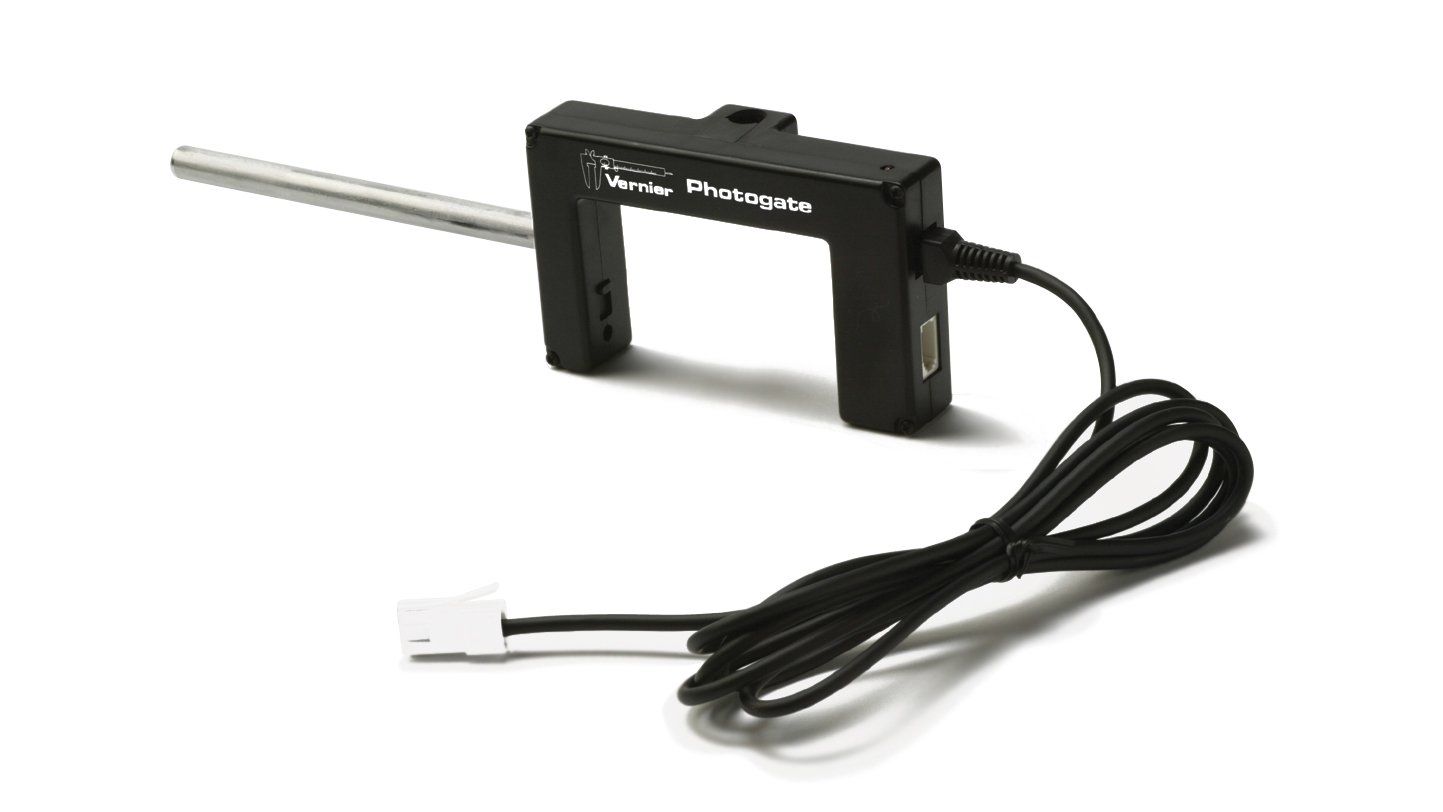
Photogate (VPG-BTD )

Troubleshooting
- Primary Test: Is the shutter positioned properly? A mechanical shutter is used to block the internal gate, switching the device to laser gate mode.
- Secondary Test: Connect the Photogate to an interface and start the data-collection program. Confirm that the Photogate has been identified by the program, and then use your hand to block and unblock the gate to confirm that the Photogate is working.
- If the Photogate is not working with your Picket Fence, make sure that the protective plastic covering the picket fence has been removed.
Getting Started Documents
If you are new to Photogates, we have three informative guides to help you get started. Choose the guide that matches the software you are using:
- For Logger Pro—Introduction to the Vernier Photogate
- For LabQuest App—LabQuest – Introduction to the Vernier Photogate
- For Graphical Analysis—How do I set up wired Vernier Photogates (VPG-BTD) for data collection using Graphical Analysis and Graphical Analysis Pro?
Additional Troubleshooting
- How do I set up wired Vernier Photogates (VPG-BTD) for data collection with Logger Pro 3?
- How do I set up wired Vernier Photogates (VPG-BTD) for data collection using LabQuest App?
- Why does my Vernier Photogate (VPG-BTD) not respond to block/unblock events?
- Why is it that my photogate (VPG-BTD) seems to respond (LED works), but I get no response in the program?
- How do I set up Vernier Photogates (VPG-BTD) for data collection in a projectile motion experiment?
- Can I use Vernier Photogates (VPG-BTD) with TI calculators?
- How do you measure acceleration using Vernier Photogates (VPG-BTD)?
- How does Logger Pro calculate velocity and acceleration from photogate data?
- Why doesn't my Vernier Photogate (VPG-BTD) auto-ID?
- How can I collect data from a photogate and a motion detector data at the same time in Logger Pro?
- What is the timing precision of photogate measurements?
- Can I use a photogate to record animal movements?
- How can I use a photogate to count events?
- Why do I get no photogate data when also using an analog sensor?
- What nut size will work with the accessory rod that comes with photogates and force sensors?
- Why does my data table have holes (empty cells) in it?
- Why won't my Motion Detector (or other digital sensor) plug into the channels of my LabQuest 2?
- Can I use a photogate to measure the muzzle velocity from a gun or air cannon?
- How do I collect data using a Motion Encoder and a photogate simultaneously?
- Can you trigger a photogate with a green laser?
- Can I measure g with a photogate and Time of Flight Pad?
- Can I collect data from a photogate and other digital sensor simultaneously in Logger Pro?
- Graphical Analysis photogate settings revert to Vernier Picket Fence settings, causing incorrect distance and velocity data.
Vernier Photogate with Picket Fence
- How can I use a Vernier Photogate to measure g?
- How can I compare my g measurements to a local value and improve their accuracy?
- Why does my photogate record a really high velocity at the beginning of a trial with a picket fence?
- Why is my picket fence blue and black instead of clear and black?
- How do I measure motion with a photogate using the Vernier Cart Picket Fence?
- Does the Pasco picket fence work the same as the Vernier picket fence?
- What are the dimensions of the cart picket fence?
- Why does the Cart Picket Fence edge get detected by a photogate?
Connecting photogates to lab equipment
- How do I attach a photogate to a track?
- How do I attach a Photogate and Ultra Pulley to the end of a Vernier Track?
- How do I attach an Ultra Pulley to the end of a Vernier Track?
Specifications
- Power requirements: 5 VDC at 40 mA
- Infrared source: Peak at 880 nm
- Output is high and LED off for unblocked gate
- Output is low and LED on for blocked gate
Calibration
It is not necessary to calibrate this sensor.
Related Products
- BT Photogate Cable (
PG-BTD ) - Digital Extension Cable (
EXT-BTD ) - Ultra Pulley Attachment (
SPA ) - Pulley Bracket (
B-SPA ) - Picket Fence (
PF ) - Cart Picket Fence (
PF-CART ) - Photogate Bar Tape Kit (
TAPE-VPG ) - Laser Pointer (
LASER ) - Laser Pointer Stand (
STAND ) - Photogate Bracket (
PGB-VDS ) - Time of Flight Pad (
TOF-VPL ) - Go Direct® Photogate (
GDX-VPG )
