Troubleshooting
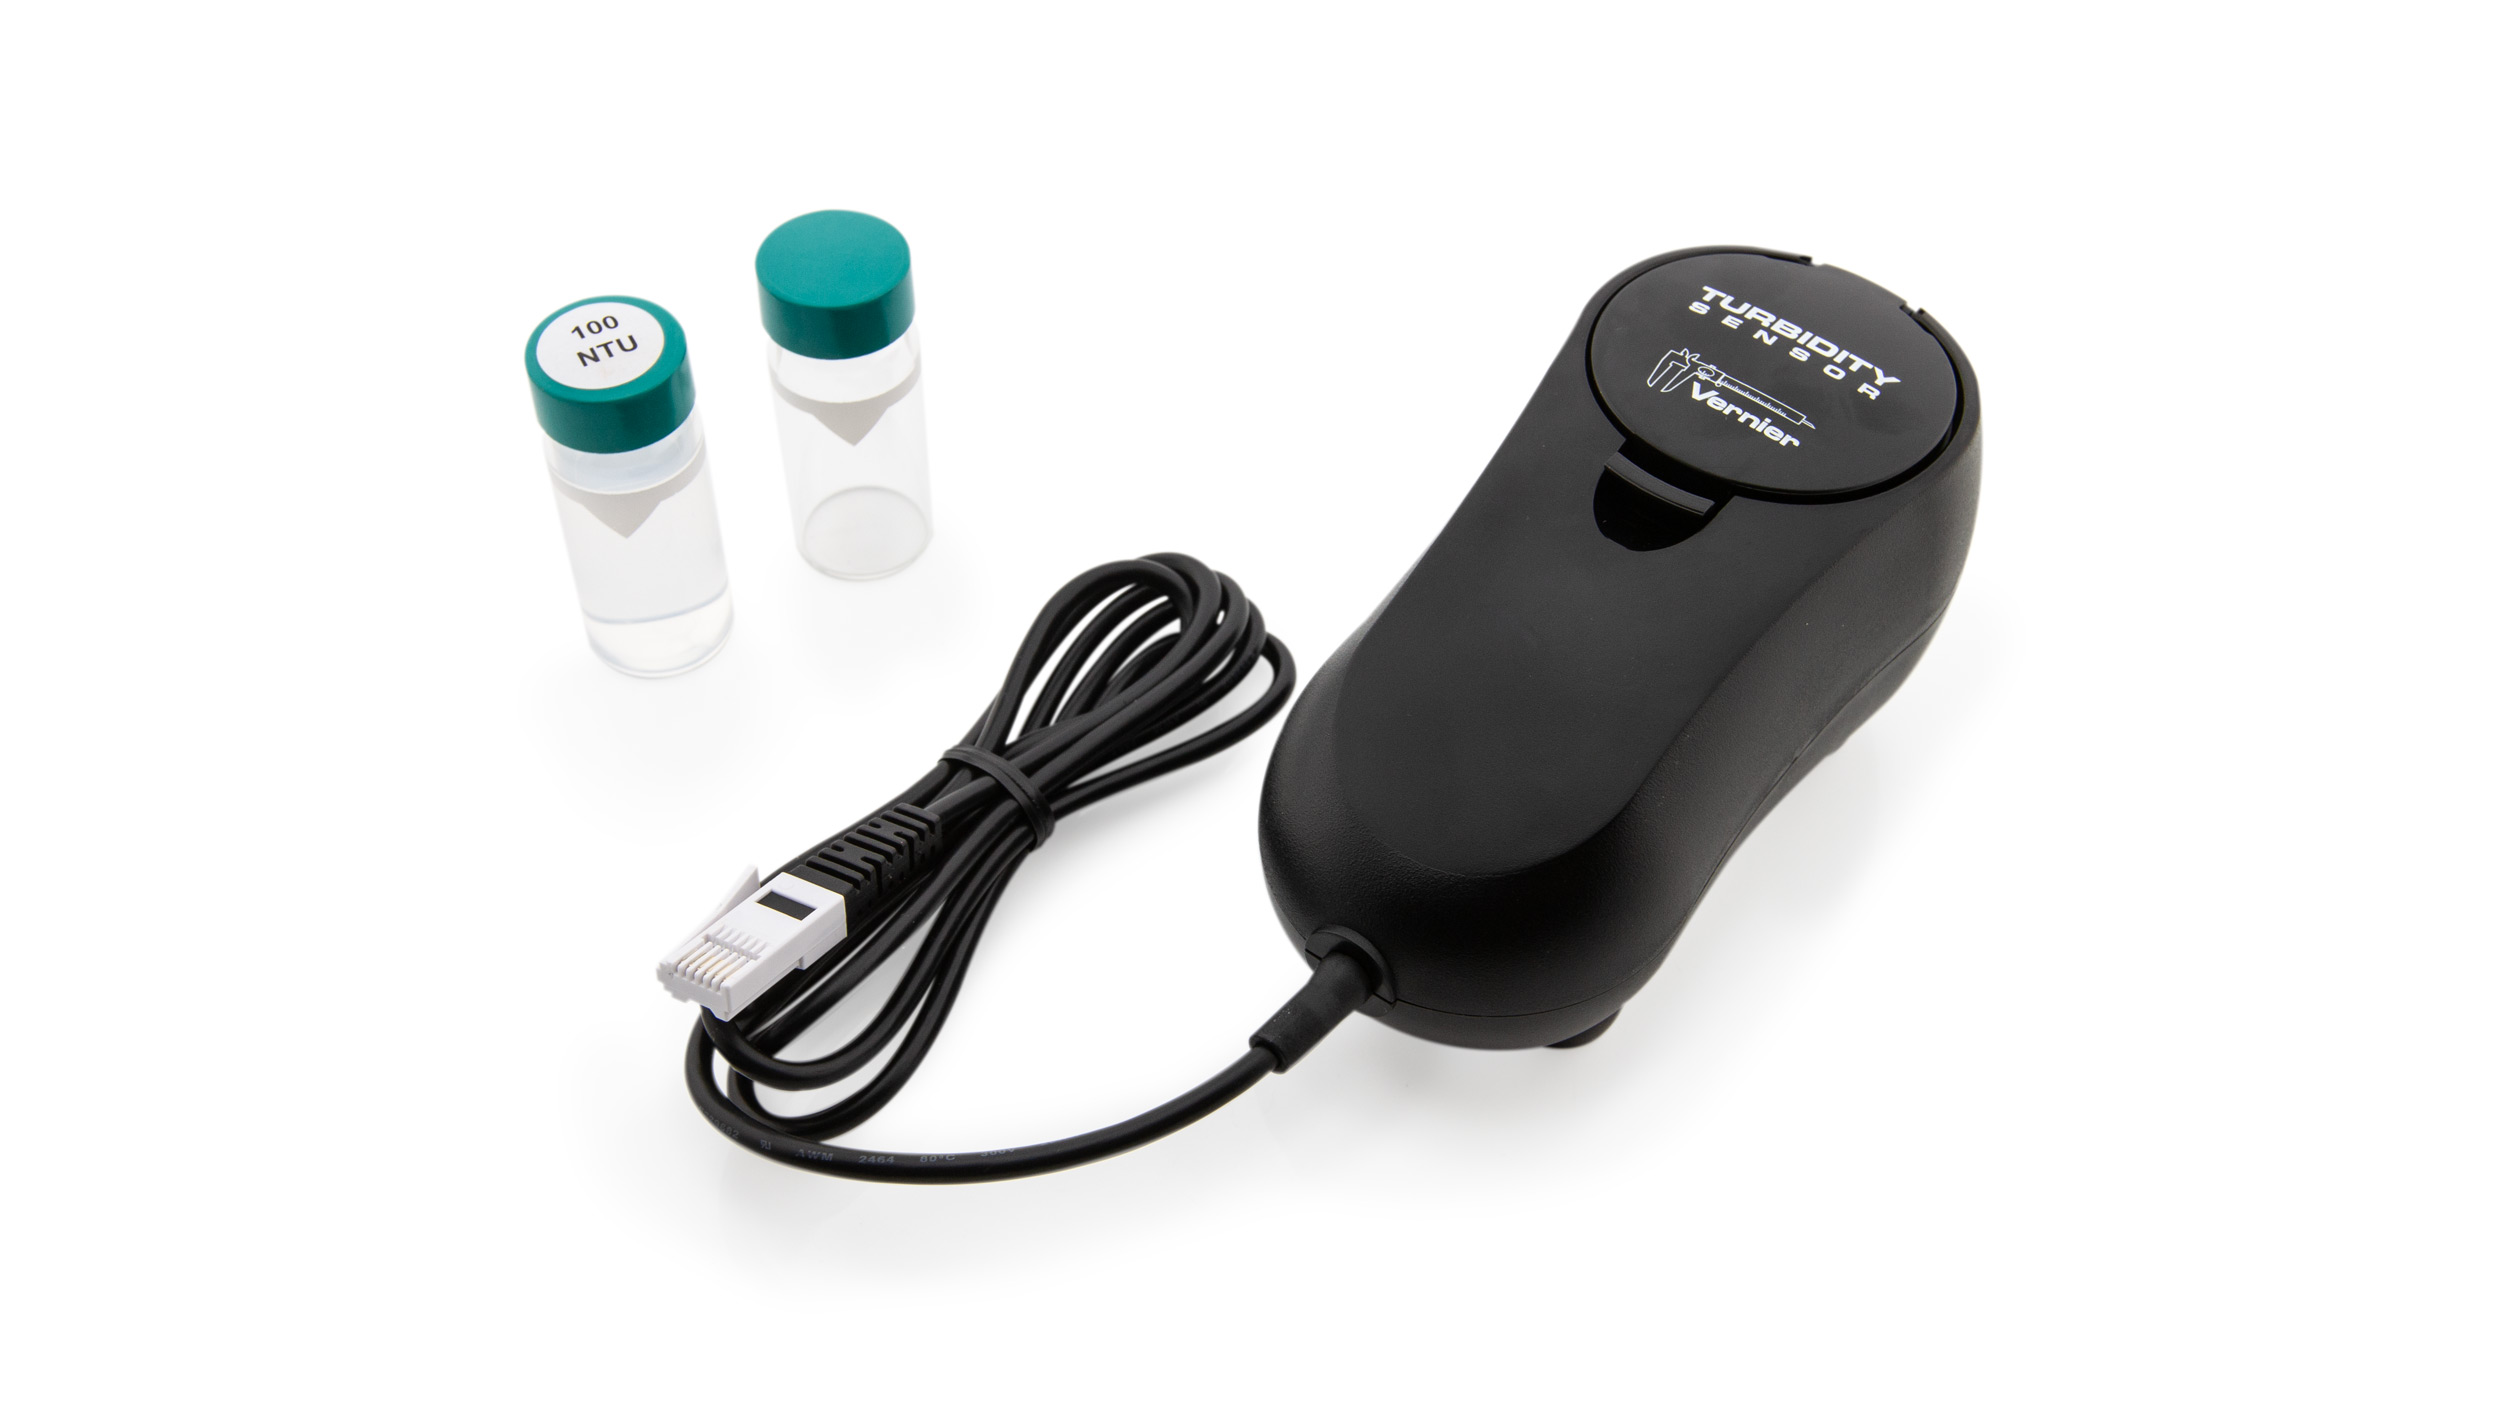
- Primary Test: Connect the sensor to the Vernier interface and run the data-collection program. Fill the sample bottle to the top of the line on the bottle with the water to be tested. Gently invert the bottle to mix, but do not shake the bottle. Seal the bottle with the lid and wipe the outside of the bottle with a clean, lint-free cloth or tissue. Hold the bottle by the lid and place it in the sensor, making sure to line up the markings on the bottle and the sensor. Close the lid and monitor the turbidity values.
NOTE: Particles in the water will settle over time and show a slow downward drift in turbidity readings; therefore, take your readings soon after placing the cuvette in the sensor.
Additional Troubleshooting
- Where can I get replacement Turbidity bottles (cuvettes) or standards?
- Why does my Turbidity Sensor give me negative readings?
- Can the turbidity cuvettes be autoclaved?
- My turbidity cuvette has no line to guide the volume added.
- My turbidity standard bottle is stuck in the Turbidity Sensor. How do I get it out?
- Is it possible to measure turbidity with the colorimeter?
Specifications
- Range: 0 to 200 NTU
- Typical Resolution: 0.25 NTU
- Accuracy:
⚬ ±2 NTU for readings under 25 NTU
⚬ ±5% of readings above 25 NTU - LED wavelength: 890 nm
- Standard: StablCal Formazin Standard 100 NTU
Calibration
Calibrate? Yes. A two point calibration is recommended. For more information about calibration, see How do I calibrate my sensor?
- Connect the Turbidity Sensor to a interface and allow the sensor to warm up for five minutes.
- Run the data-collection program and enter the calibration section of the program.
- 1st calibration point (Turbidity Standard):
- gently invert the bottle containing the turbidity standard solution (100 NTU) four times. NOTE: Do not shake the bottle.
- Wipe the outside of the bottle with a clean, lint-free cloth or tissue.
- Hold the bottle by the lid and place it in the sensor, aligning the markings on the bottle with the markings inside the sensor.
- Close the lid. When the reading stabilizes, enter “100” as the value in NTU, then click or tap Keep.
- Remove the standard.
- 2nd calibration point:
- Prepare a blank by rinsing and filling the empty sample bottle with distilled water to the top of the line on the bottle.
- Seal the bottle with the lid.
- Wipe the outside of the bottle with a clean, lint-free cloth or tissue.
- Hold the bottle by the lid and place it in the sensor, aligning the markings on the bottle with the markings inside the sensor.
- Close the lid. When the reading stabilizes, enter “0” as the value in NTU, then click or tap Keep.
Related Products
- Turbidity Accessories Replacement Kit (
TRB-ACC ) - Turbidity Bottles (6 bottles) (
TRB-BOT ) - Go Direct® Turbidity (
GDX-TRB )

