Troubleshooting
Primary Test: Press the power button on the sensor to turn it on. Connect your sensor as described in the Getting Started instructions for your device. (The green LED will flash to indicate the sensor is connected.)
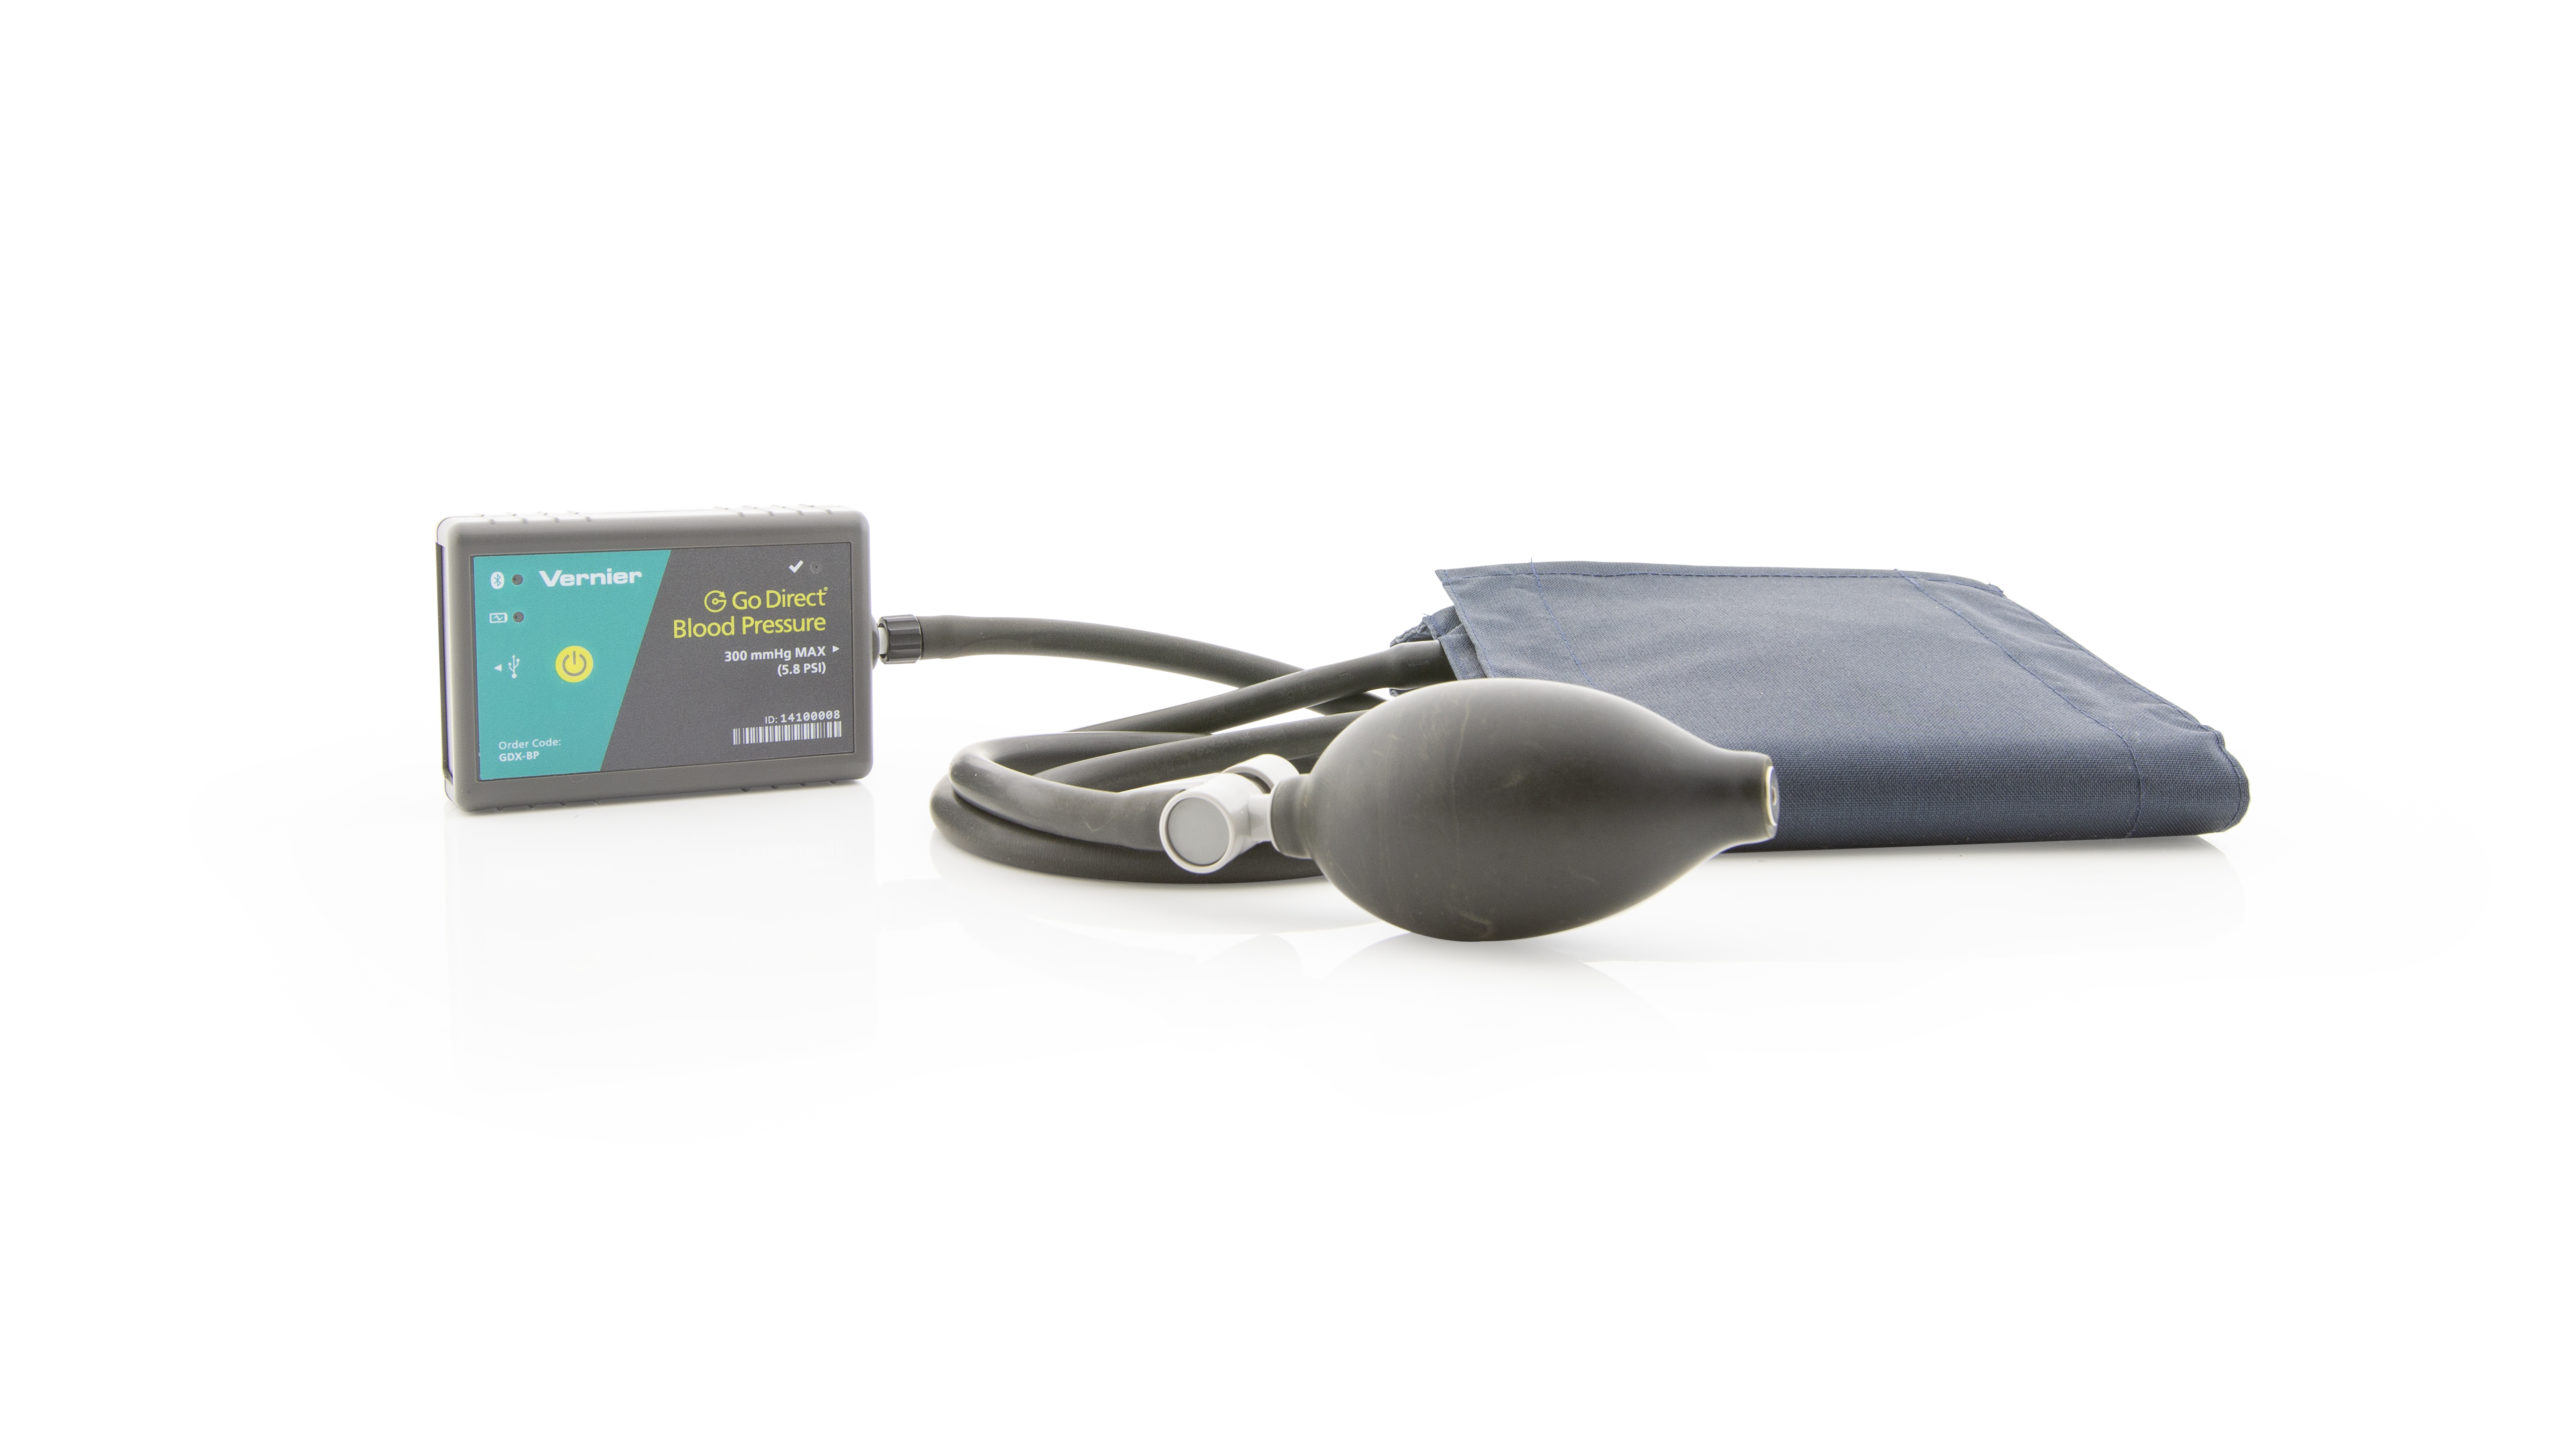
- Attach the rubber hose from the cuff to the connector on the sensor.
- Wrap the cuff firmly around the subject’s arm (see Helpful Tips below).
- Find the sensor indicator light, which is located in the top-right corner of the sensor label (next to the checkmark, ✔).
- Locate the live sensor meter reading displayed in the data-collection software.
- Begin data collection.
- Quickly and repeatedly squeeze the bulb to inflate the cuff to between 150 and 170 mmHg.
⚬ The sensor indicator light will flash red as the cuff is inflated.
⚬ When the light flashes green, an appropriate pressure has been reached. - When the indicator light flashes green, set the bulb pump down on the table.
⚬ The built-in pressure release valve will slowly deflate the cuff.
⚬ The sensor indicator light will flash green as the cuff deflates. - When the pressure drops to 50 mmHg, you may press down on the pressure release valve to release any air remaining in the cuff. Check the indicator light to see if it is solid green, which indicates the blood pressure parameters have been reported.
- Stop data collection.
Note: If the sensor indicator light turns solid red, blood pressure parameters were not reported by the sensor. If the cuff pressure does not reach 50 mmHg after 90 seconds, adjust the exhaust rate of the pressure release valve according to the directions listed under “Adjusting the Pressure Release Valve” in the user manual. In either case, you will need to repeat data collection.
Helpful Tips
- The arm and hand must remain still during measurements.
- The arm should rest at the level of the heart and remain relaxed during measurements. A desk or table can be used to support the arm.
- Proper placement of the pressure cuff will increase the accuracy of your blood pressure measurements. The rubber hoses from the cuff should exit over the brachial artery and 2 cm above the crease in the elbow.
- Accurate blood pressure readings depend on the use of a cuff of appropriate size for the arm. The included standard cuff is for arm circumferences between 27 cm to 39 cm.
⚬ For younger students, a smaller cuff (18 cm to 27 cm) is available (order code CUFF-SM).
⚬ A large cuff (39 cm to 50 cm) is also available (order code CUFF-LG). - Do not touch or move the exhaust valve during measurements.
- Remove any clothing that may cover or constrict the portion of the arm being used.
- For most individuals it is not necessary to inflate the pressure cuff higher than 170 mmHg. Over inflation of the cuff may cause pain and/or injury.
- The cuff pressure displayed should be between 0 and 5 mmHg before any air is pumped into the cuff.
- If the cuff will not deflate, check to see that the pressure release valve is not completely closed. It should be opened about four turns from the closed position.
- The exhaust rate should be between 2.0 and 4.0 mmHg/s. Refer to the user manual for instructions on “Adjusting the Pressure Release Valve” if an adjustment is needed.
Please be aware that blood pressure parameters will differ from person to person and even between measurements on the same individual. Do not expect to receive the same measurements on each trial since there are many factors that cause the blood pressure of the subject to increase or decrease.
Additional Troubleshooting
- Why are blood pressure readings unrealistic or not being reported by the software?
- I have a Blood Pressure sensor. Can my students use the data from the Cuff Pressure data that is collected by the software to calculate the BP parameters?
- What are the temperature limitations on the Go Direct 300 mAh battery?
- Go Direct sensor does not connect to LabQuest 2 via Bluetooth.
- How do I remove or replace a Go Direct battery?
- Troubleshooting Bluetooth Connections with Go Direct Sensors
- What can I do if a Go Direct sensor's Bluetooth LED flashes red and green when I try to connect to it and the connection fails?
- Will my device work with Go Direct Sensors via Bluetooth?
- How do I know if my LabQuest will work with Go Direct Sensors and Go Wireless devices?
Specifications
- Type: Differential Pressure
- Range: 0 to 300 mmHg
- Resolution: 0.001 mmHg
- Accuracy: ±0.75 mmHg
- Response time: 5 ms
- Maximum pressure without damage: 3100 mmHg
- Systolic pressure coefficient: 57% of MAP
- Diastolic pressure coefficient: 74% of MAP
- Pulse rate calculation: Sample window: Last 30 s of data collection
- Maximum sampling rate: 200 samples/s
- Connections:
⚬ Wireless: Bluetooth® v4.2 (wireless range 30 m unobstructed)
⚬ Wired: USB 2.0 full speed - Battery: 300 mA Li-Poly
⚬ Battery Life (single, full charge): ~24 hours continuous data collection
⚬ Battery Life (lifetime): 2 – 5 years (typical)
Calibration
Calibrate? No. The sensor cannot be calibrated by the user.
Battery Troubleshooting
- If the sensor can be turned on when connected by USB but not when disconnected from USB, the battery likely needs charging.
⚬ Charge the sensor for several hours and try again. - If the sensor still won’t turn on, try swapping the battery with a working sensor to see if the problem follows the battery or stays with the sensor.
⚬ If the problem stays with the sensor, the battery is probably not the issue.
⚬ If the problem follows the battery, the battery has likely reached its end of life. - If the battery is indeed at the end of its life, the sensor cannot be used even if connected by USB, so the battery will need to be replaced. Go Direct® 300 mAh Replacement Battery (
GDX-BAT-300 ) - See How do I remove or replace a Go Direct battery? for more information.
Rechargeable batteries are covered by a one-year warranty.
Batteries should last two to five years in typical use.
Related Products
- Micro USB to USB-C Cable (
CB-USB-C-MICRO ) - Go Direct® Charge Station (
GDX-CRG ) - Blood Pressure Cuffs (
CUFF-SM ) - Blood Pressure Cuffs (
CUFF-LG ) - Blood Pressure Sensor (
BPS-BTA )
Replacement Parts
- Go Direct® 300 mAh Replacement Battery (
GDX-BAT-300 ) - Micro USB Cable (
CB-USB-MICRO ) - Blood Pressure Cuffs (
CUFF-STD )