The Digital Control Unit (
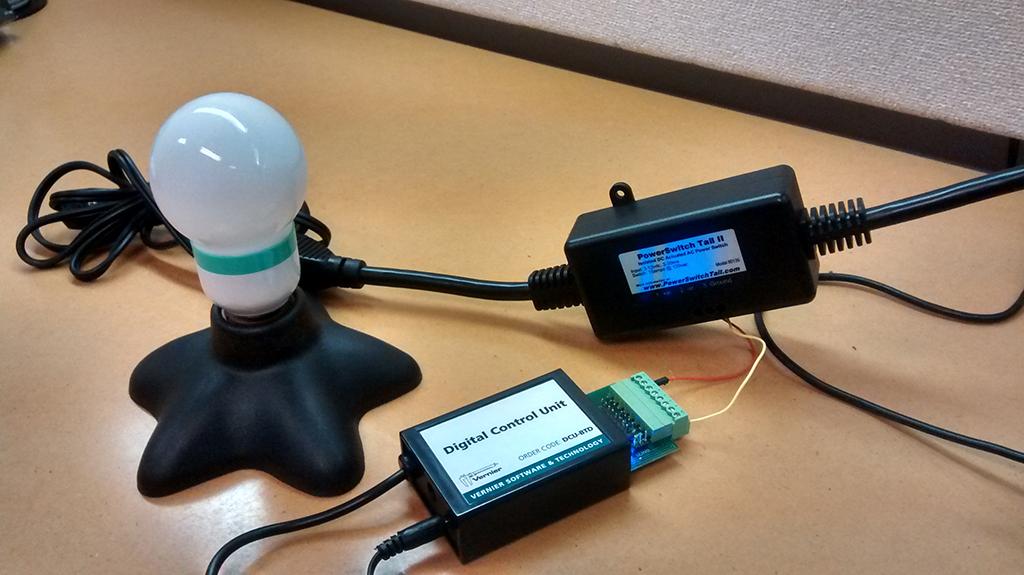
The easiest way we have found to control an AC device with the DCU is using a PowerSwitch Tail II. This power cord can switch on and off 120 V AC devices with a simple control voltage, like the output of a DCU, an Arduino, or other microcontroller. Connect a DCU line to its “+in” input and the DCU ground to its “-in” input, and it will switch “on” whenever the DCU line is activated. You can control lights, space heaters, toasters, or any device you would plug into a wall outlet. The PowerSwitch Tail II can be purchased from a variety of online vendors, including Amazon.

DCU connected to the PowerSwitch Tail II. When DCU line D1 is activated, the light bulb will turn on.
If you are comfortable with basic electronics, you can skip the DCU and use the PowerSwitch Tail II exclusively. Do the following:
1) Using a Digital BTD Cable (
2) Connect Pin 1 of a BTD cable to the “+in” input and Pin 5 to the “-in”. Plug the BTD cable into the DIG/SONIC1 channel of a Vernier interface.
3) In Logger Pro in the Experiment/Sensor Setup window, choose the “Digital Control Unit” in the drop-down menu for DIG/SONIC1 (even though you are not using the DCU).
Now you can control the PowerSwitch Tail II from Logger Pro, just as if you had it connected to the first digital output line (D1) of the DCU.
