This information pertains to LabQuest 2.
If you have a LabQuest 3, see this article.
If you have an original LabQuest, see this article.
To verify that a LabQuest 2 is charging, connect the unit to AC power, turn the unit on and look at the icon in the lower right. A correctly charging battery will display this icon: 
If you are seeing a red icon in the lower right corner of the LabQuest 2 screen then for some reason the LabQuest is not charging: 
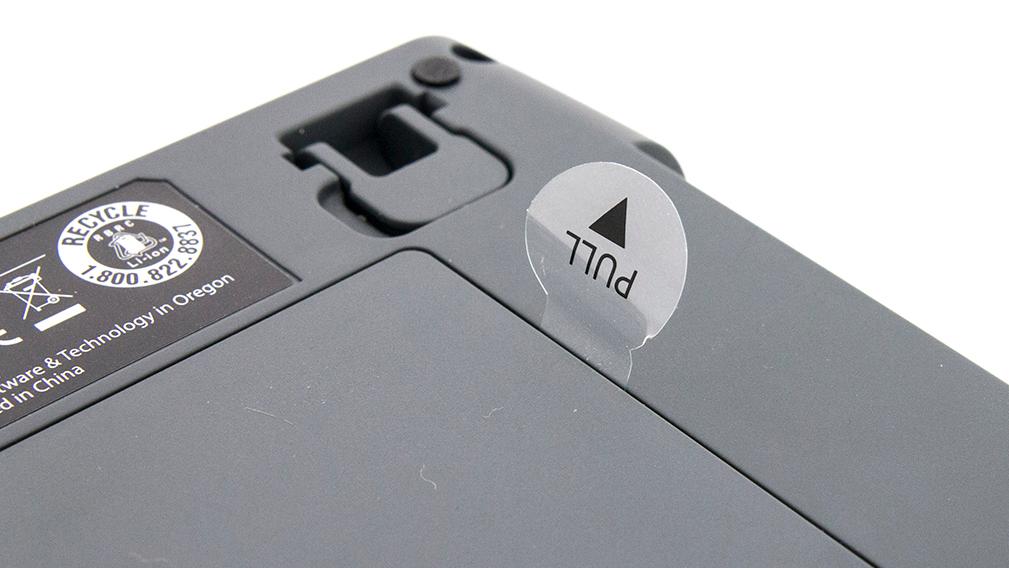
The LabQuest 2 battery ships with a small spacer over the contacts to protect it from accidental contact. Verify that this spacer has been removed. 
If you still see the red icon after you’ve removed the spacer, remove the battery from the back of the LabQuest 2 and verify that nothing covering the contacts on the battery or LabQuest 2. Reinstall the battery.
Note that it may take up to a minute for the icon to update after doing the above steps.
If the battery is still not charging, see:
LabQuest 2 Battery Troubleshooting and FAQs
What does the battery icon on my LabQuest 2 mean?
